Welcome to our DIY guide for transforming your residential house with a fresh coat of paint! Whether you’re looking to enhance curb appeal or revamp your interior spaces, painting is a cost-effective way to breathe new life into your home. In this blog, we’ll walk you through the step-by-step process of painting your house in Prince Albert, Saskatchewan, ensuring professional-looking results without breaking the bank.
Step 1: Planning and Preparation Before diving into painting, it’s crucial to plan and prepare adequately. Start by assessing the condition of your walls, both inside and out. Look for any cracks, holes, or imperfections that need to be repaired before painting. Additionally, consider the weather forecast, as painting outdoors is best done on dry, mild days.
Gather all the necessary supplies, including:
- Primer
- Paint (choose high-quality, weather-resistant paint for exterior surfaces)
- Paintbrushes, rollers, roller cage & a roller handle
- Painter’s tape
- Drop cloths or plastic sheeting to protect floors and furniture
- Sandpaper and spackling paste for wall repairs
- Putty knife & Spackle
- Sanding sponge & sanding head
- Ladder or scaffolding for reaching high areas
Step 2: Surface Preparation Proper surface preparation is key to achieving a smooth, long-lasting finish. Start by cleaning the walls thoroughly to remove dirt, dust, and grease then sand the walls. For exterior surfaces, a power washer can be handy, while interior walls may require a gentle wash with soap and water.
Next, tackle any repairs needed, such as filling in holes with spackling paste and sanding down rough patches. Once the repairs are complete, apply a coat of primer to ensure better adhesion and coverage for the topcoat.
Step 3: Protecting Surrounding Areas Before you start painting, take the time to protect surrounding areas from accidental splatters or spills. Use painter’s tape to mask off edges, trim, and any other areas you don’t want to paint. Lay down drop cloths or plastic sheeting to cover floors and furniture, preventing them from getting stained.
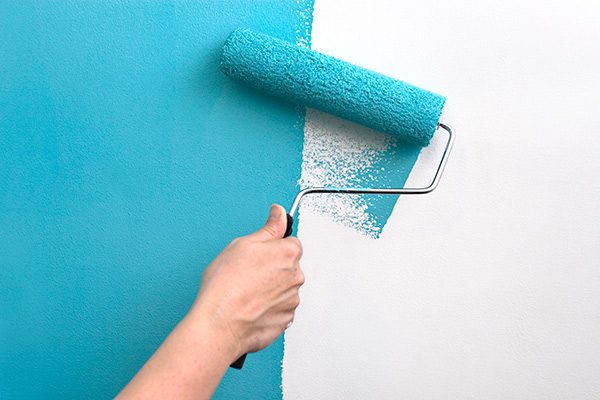
Step 4: Painting Techniques Now comes the fun part – painting! Begin by cutting in around edges and trim with a high-quality paintbrush. This precision work will create crisp lines and ensure a professional-looking finish. Once the edges are done, use a roller to apply paint to larger surface areas, working in small sections at a time.
For exterior painting, start at the top of the house and work your way down to avoid drips and streaks. Be mindful of the direction of the brush or roller strokes, aiming for smooth, even coverage.
Step 5: Finishing Touches After applying the first coat of paint, allow sufficient drying time before applying additional coats. Depending on the paint type and weather conditions, this could take anywhere from a few hours to overnight.
Once the final coat is dry, carefully remove painter’s tape and inspect the painted surfaces for any touch-ups needed. Use a small brush to fix any imperfections or missed spots.
Step 6: Clean Up Once you’ve completed the painting process, it’s essential to clean up properly. Dispose of any used paint cans, brushes, and rollers responsibly, following local recycling guidelines. Remove drop cloths or plastic sheeting and clean any paint spills or splatters promptly.
Finally, step back and admire your handiwork! Your freshly painted house is sure to stand out in Prince Albert’s neighborhoods, boosting curb appeal and creating a welcoming atmosphere for you and your family.
Painting your residential house can be a rewarding DIY project that enhances both its appearance and value. By following these step-by-step guidelines and exercising patience and attention to detail, you can achieve professional-quality results without the need for expensive contractors. So, roll up your sleeves, grab your paintbrushes, and get ready to transform your home in Prince Albert!
